

Strategic Overview of Operation Downpour Simulation in Genshin Impact
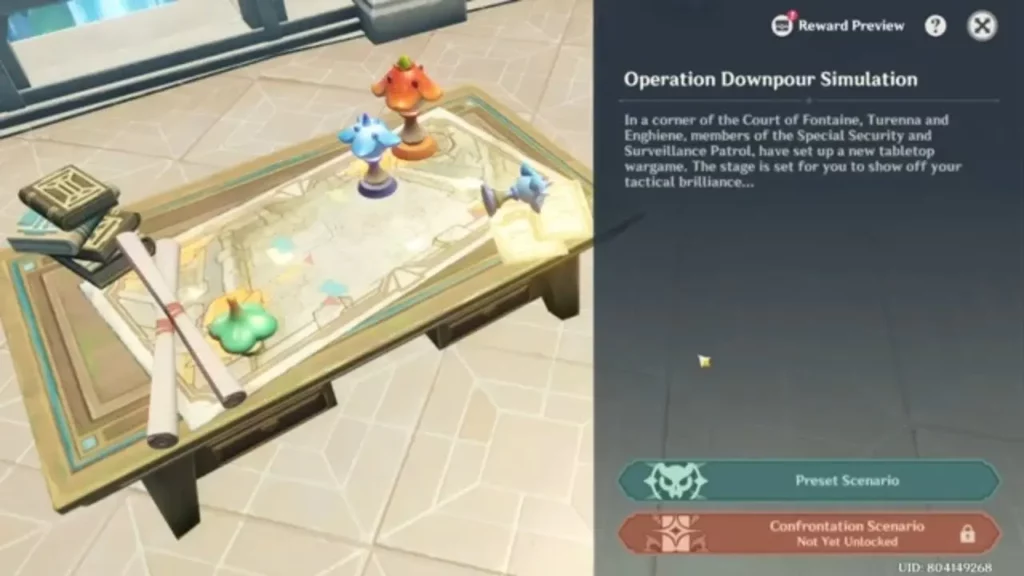
In Genshin Impact’s Operation Downpour Simulation event, players step into a tactical board game set within Fontaine’s Court. Here, members of the Special Security and Surveillance Patrol host a multi-stage strategy challenge where players deploy units, each with unique traits, to eliminate all enemy forces and structures across 11 scenarios.
Understanding the Tactical Mechanics
Once units are placed within designated deployment zones, they automatically target enemies based on their capabilities. The goal in each round is to neutralize all threats and secure the enemy installations, ensuring progression through the simulation’s increasingly complex stages.
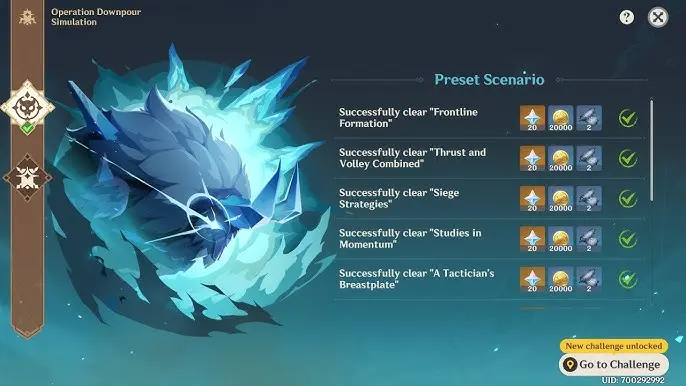
Setting the Tone: Stage 1 – Frontline Formation
This opening mission introduces basic mechanics. For a swift win:
- Place two Hilichurl units at the top edge.
- Position two Samachurl units beneath the right-side Cryo Whopperflower.
Once the Samachurls eliminate the first foe, Hilichurls advance to dismantle the palisades.
Controlled Burn: Stage 2 – Thrust and Volley Combined
Here, wooden barricades block the way. Utilize Pyro-based units:
- Center two Ruin Guards.
- Line up three Hilichurl Grenadiers between the Guards.
As Hydro Slimes engage the Ruin Guards, the Grenadiers burn away all obstructions.
Balanced Offense: Stage 3 – Siege Strategies
More unit types expand possibilities:
- Start with three Cryo Specters opposite the Cryo Samachurl.
- After the Frostarm Lawachurl falls, deploy a Ruin Guard mid-field.
- Place an Electro Samachurl beside the Ruin Guard.
Cryo Specters initially evade damage, while the Lawachurl’s defeat opens a window for a concentrated push with melee reinforcements.
Anti-Air Warfare: Stage 4 – Studies in Momentum
Enemies deploy a Suppression Specialist Mek with anti-air capability:
- Begin with an Electro Cicin at the bottom center.
- Once the Cryo Whopperflower falls, deploy an Eroding Avatar of Lava in its place.
- Use two Hilichurls to follow the Avatar once initial obstacles are cleared.
- Reinforce further with remaining units as needed.
Crossfire Execution: Stage 5 – A Tactician’s Breastplate
Focus on dual pressure:
- Two Hilichurls target individual Meks at the bottom.
- Two Cryo Specters handle different Hydro Slimes from the top.
Although Shackling Mines may delay progress, strategic targeting ensures mission success.
Tactical Debut: Stage 6 – To the Trenches
A new piece enters the field: Hydro Mimic Finch, which causes AoE Hydro damage upon defeat:
- Position Grenadiers in the bottom right and top left corners.
- Once the first barricade is down, introduce the Hydro Mimic Finch.
- With the second barrier cleared, deploy the rest of the units for a final sweep.
Dual Assault: Stage 7 – Grand Armies
Complex enemy arrangements require smart use of range:
- Place Ruin Guards mid-field for unguarded foes.
- Deploy Electro Samachurls beneath the barricades on both sides.
- Add a Hilichurl at the bottom right to press the advantage.
Overwhelming Force: Stage 8 – More Firepower, Fewer Casualties
Burn through the stage:
- Take down Frostarm Lawachurls with Electro Samachurls placed side by side.
- Distract Pyro Potioneers by placing a Ruin Guard in their lane.
- Use Grenadiers to ignite and eliminate remaining barriers.
Layered Threats: Stage 9 – Like Mountain Raindrops
Challenge intensifies with aerial vulnerabilities:
- Start with an Eroding Avatar of Lava at mid-left.
- Place Cryo Specters at the top left and bottom.
- Use Hilichurls against the Cryo Whopperflower once paths are open.
- Clean up remaining units post-Mek defeat.
Flanking Strategy: Stage 10 – Like Peeling an Onion
Coordinate a pincer attack:
- Set Hydro Mimic Finches on both flanks, targeting Potioneers.
- Place Electro Cicins on both bottom corners, focusing on the Wooden Palisades.
- After Mimic Finch triggers shockwaves, insert a Ruin Guard for cleanup.
- Finalize victory with long-range pieces to break remaining defenses.
Final Push: Stage 11 – Dispersing the Morning Mist
This final mission demands precise coordination:
- Deploy Eroding Avatars at the top and left.
- Place a Hilichurl Grenadier top-left to dismantle barriers.
- Add a Hydro Mimic Finch to tackle the Frostarm Lawachurl and then a Mek.
- Cryo Specters follow to finish off remaining enemies.
- Reinforce gaps with any unused units to ensure a clean sweep.
By mastering each stage’s unique layout and making informed placement choices, players can fully complete Operation Downpour Simulation and reap the rewards offered in this engaging Genshin Impact event.