

Multiplayer Guide for Monster Hunter Wilds
Monster Hunter Wilds presents a more immersive narrative than before, yet it remains an exceptional multiplayer co-op title. This guide covers everything about multiplayer gameplay, including how to connect with friends, enable crossplay, utilize Link Parties, and explore with Environment Links.
Skip to How to Play With Friends to learn how to add each other in-game and complete the story together.
Quick Multiplayer Overview
- Crossplay is active by default.
- Share your Hunter ID (located in the Hunter Profile) so others can search and send friend invites via the Member List.
- Lobbies serve as gathering hubs where players can see and join others’ quests at the Quest Counter.
- Creating a Squad forms a permanent Private Lobby accessible to all Squad members.
- Use SOS Flares mid-quest to request assistance or find active SOS Flares through the Quest Counter. This is an efficient way to locate hunts for specific monsters.
- Link Parties, new to Wilds, allow members to receive quest invites whenever a quest begins, even if they aren’t in the same lobby.
- Environment Links enable shared exploration of a map with others, functioning similarly to Expeditions in previous games. Players cannot initiate story missions or standard quests here but will still receive rewards through the Field Survey system.
- Online Single Player mode provides a solo experience with the ability to pause, even when multiplayer servers are down.
Complexity of Multiplayer
While it may seem overwhelming initially, multiplayer becomes straightforward once your Hunter Friend list is organized. Wilds functions similarly to Monster Hunter: World, with the addition of Link Parties, Environment Links, and more intuitive access to Story Hunts.
Monster Hunter Wilds Crossplay
Crossplay is automatically enabled and supports matchmaking between PlayStation, Xbox, and PC players. This setting can be toggled from the main title screen under Options. However, cross-progression is not supported—progress and characters do not carry across platforms.
Unlocking Multiplayer
Multiplayer becomes available after completing the Chapter 1 – 2 “Back to Camp” mission, which involves speaking with guildmates. A notification regarding multiplayer and lobbies will appear after exiting your tent. Reaching this point usually takes about 15 minutes, excluding time spent customizing your character or testing weapons before confronting the Chatacabra.
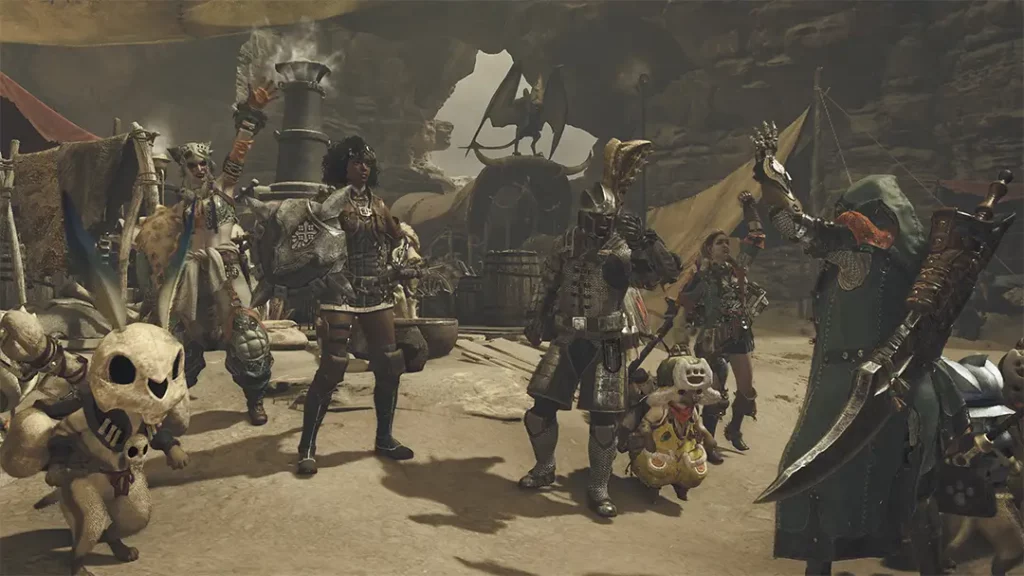
About Lobbies
Once multiplayer is unlocked, players will encounter new login and Quest Counter options. While in a Lobby, quests can be shared and joined freely, mimicking traditional Monster Hunter gathering hubs. Lobbies can support up to 100 players.
- Recommended Lobby: Connects players with others of similar Hunter Rank.
- Search Lobby: Filter by various preferences, though not specific monsters.
- Private Lobby: Requires the Lobby ID for others to join.
- Players can interact with others at base camps but won’t see them out in the field.
Lobbies are ideal for occasional multiplayer activity or for casual grouping.
About Squads: Permanent Private Lobbies
Frequent players should consider forming a Squad, which provides a persistent Private Lobby for its members. Everyone in the Squad can automatically access the same lobby at login.
How to Create or Join a Squad:
- Visit Felicita at the Squad Information Center on the Plains map.
- Choose “Join a New Squad.” Customize the settings if creating a new one.
- Share the Squad ID (found under Squad name in the Manage Squads menu) with friends.
Squad Lobbies also make sending friend invites easier, allowing direct invitations from the Member List. Inactivity will result in being moved to Online Single Player.
Online Single Player
Online Single Player mode lets you play solo without joining a lobby. You can pause in this mode, which becomes disabled once an SOS Flare is sent to call for backup.

Sending and Joining SOS Flares
First introduced in the tutorial, SOS Flares can be launched during a quest via the radial or main menu (Missions & Quests > SOS Flare) to request help. Other players can join through the Quest Counter, even if they’re in a different lobby. SOS Flares can be canceled after sending.
Searching for active SOS Flares is a fast way to join hunts for specific monsters or assist others.
SOS Flare Settings:
- Automatically send SOS Flares at the start of a quest (enable at the Quest Counter).
- Customize your Member Recruitment Comment at the Quest Counter.
Playing With Friends
- Open the in-game menu > Communication tab > Invite a Friend.
- Choose friends from the platform list or scan a QR code (consoles).
- Once in a Link Party, add them as a Hunter Friend via: Menu > Communication > Link Party > View Link Members > Select Hunter > Send Friend Request.
- Accepted requests appear under Hunter Friends in the Player List.
Sending Friend Requests in Lobbies
While in any Lobby (Recommended, Private, or Squad), use the Communication tab to open the Member List. From there, select a player and send a friend request.
Cross-Platform Invites
- Retrieve your Hunter ID:
- Menu > Info > Hunter Profile or
- Menu > Communication > Player List > Link Members
- Share the ID with your friend.
- They must search using Hunter ID Search under the Player List.
- After connecting, send a Friend Request.
- Once accepted, invite them to a Link Party for easier coordination.
This method also works within the same platform and avoids using platform-specific friend lists.
About Link Parties
Link Parties can hold up to four players and ensure seamless co-op. Quest invites are automatically sent to all party members when one player initiates an activity.
Inviting to a Link Party:
- Menu > Communication > Link Party > Invite to Link Party.
- Invite Friends, Lobby Members, Squad Members, or use Hunter IDs.
When Invites Are Sent:
- Posting a quest at the Quest Counter.
- Reaching the “Quest Start” screen during a story sequence.
- Starting a Field Survey Quest by attacking a monster or selecting one on the map.
Members can accept invites anywhere (unless engaged in cutscenes) by holding the start button or checking the Invite Notification List.
Invites to in-progress quests can be sent. Party members can find ongoing quests under “Link Member Quests” at the Quest Counter (Alma). After completing a quest, players return to individual instances but remain linked.
Posting and Departing on Quests
Upon posting a quest, choose a Departure Point and select one of the following:
- Accept & Depart (Quick Start): Starts the quest immediately after loading.
- Accept & Prep: Allows time to eat and gather supplies before departing.
Once ready, open the Departure Window and select either Standby for Departure or Depart Now.
Story Multiplayer Explained
When playing through the story, if all party members are at the same progression point, multiplayer works smoothly.
- NPC conversations and exploration are solo activities.
- Once the “Quest Start” screen appears, an automatic invite is sent to the Link Party.
- The first player to load in triggers the invite, and others join once they reach the same point.
- Completion counts for all, ensuring synchronized story progression.
Important Tips:
- Players must have seen the relevant “Quest Start” screen to join a friend’s quest.
- Those ahead can assist players who are behind.
- Active story objectives will block invite acceptance until a quest officially begins.
Environment Links Explained
While Link Parties are great for quests, they do not allow open-world roaming. To explore maps together, use Environment Links.
Inviting to an Environment Link:
- Open the Link Party menu and choose Invite All to Environment Link.
- Invites appear in the Invite Notification List.
Key Features:
- Quests cannot be posted via the Quest Counter.
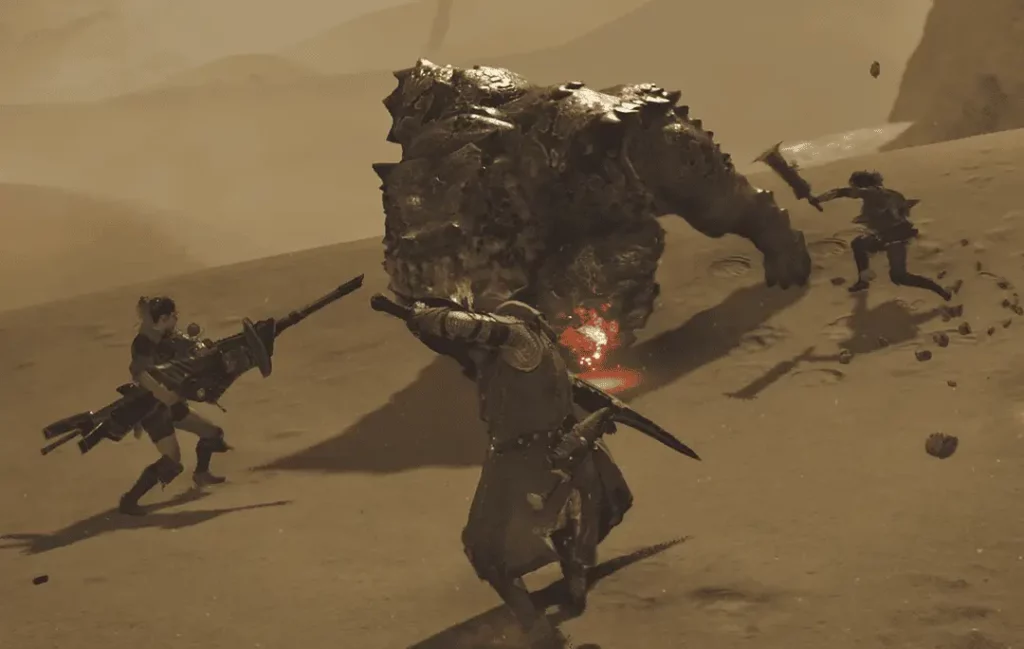
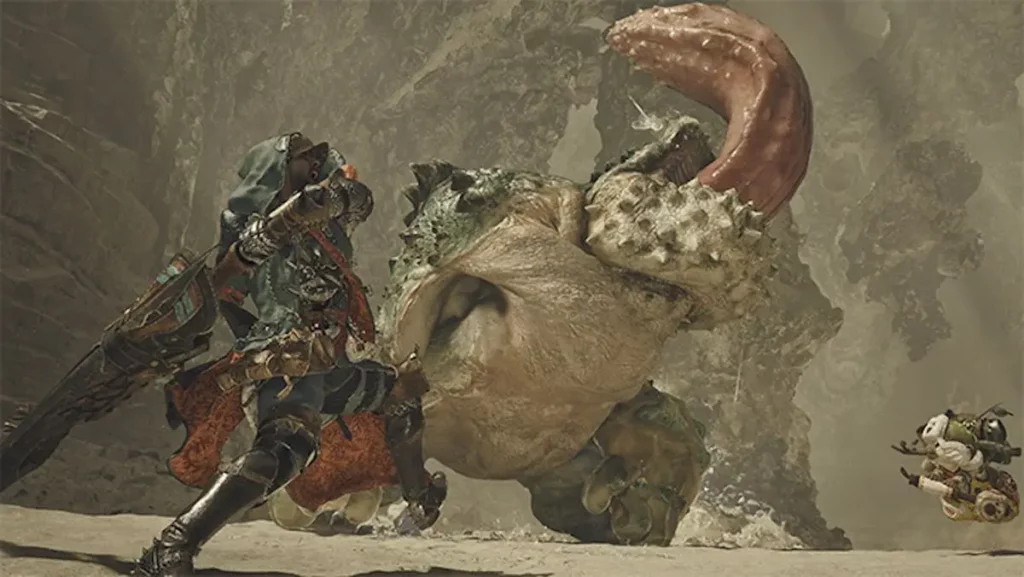
- Begin Field Survey Quests by attacking a monster or selecting one from the map.
- Once in High Rank, the detailed map will show bonus rewards for specific monsters.
- No loading screens occur between hunts.
- The party remains together throughout.
- No additional invites can be sent once a hunt starts.
- Use the Environment Overview to track monster appearances and reward opportunities.
We also recommend that you read our guide to the monster list.